Airstream says there are over four thousand rivets in each of their coaches, and I believe it. The exterior shell is held together with buck rivets, requiring a team of two to install. Each buck rivet is placed in the hole, then as one operator holds the rivet in place with a bucking bar, the other operates the rivet gun, smashing the rivet into place creating a very strong mechanical bond between the two pieces of aluminum. This is much easier, and faster, than trying to wield aluminum. Buck rivets stand up well to vibration over time and have been Airstream’s method of choice for the aluminum outer shells since the beginning.
This article is not about those buck rivets. It’s about the rivets used inside the coach, the open-end blind rivets, also known as POP® rivets. While very strong these rivets do eventually weaken due to the vibrational stress of towing the coach over harsh roads. Luckily the process for replacing open-end blind rivets is simple and only requires two tools and some replacement rivets. The tools being a drill with a 1/8th inch metal bit and a pop rivet gun. Replacement rivets can be purchased from Airstream or, if you know what you’re looking for, from any hardware store.
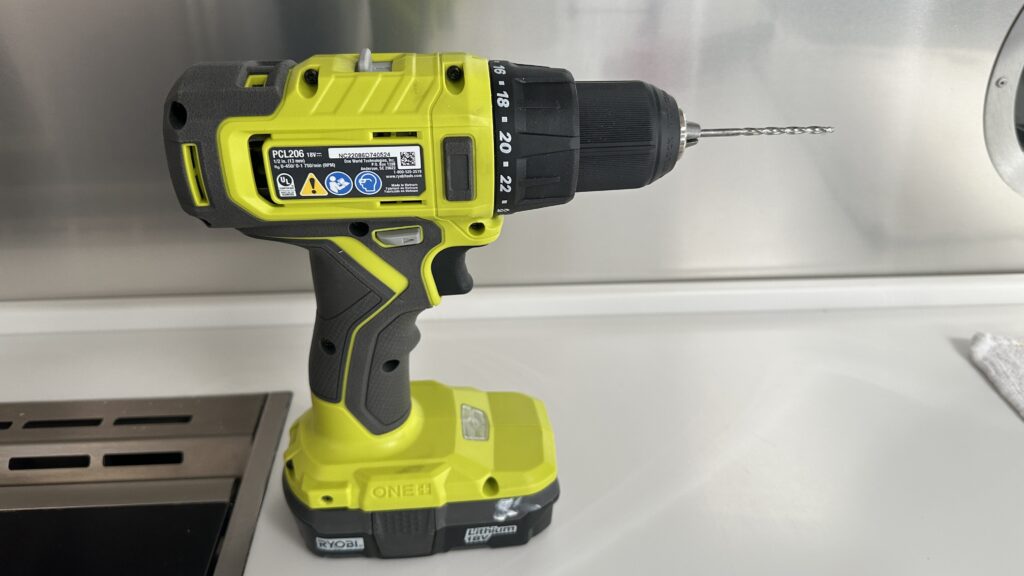
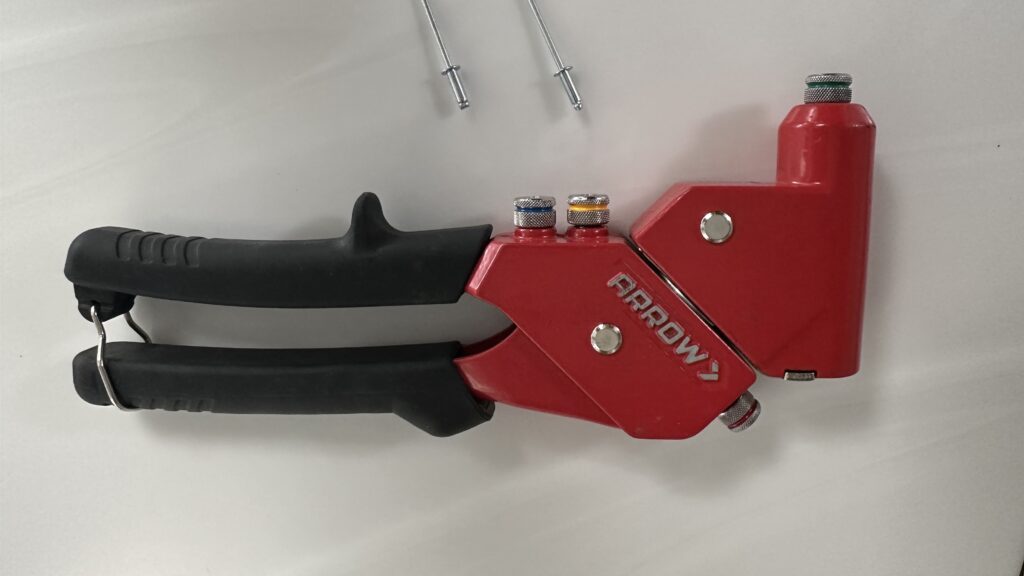
During our epic road trip from our home in Winnemucca down through Albuquerque to Austin, New Orleans, Orlando, Saint Augustine, Delaware, and at the time of this writing, Nashville, we had to replace five open end blind rivets.
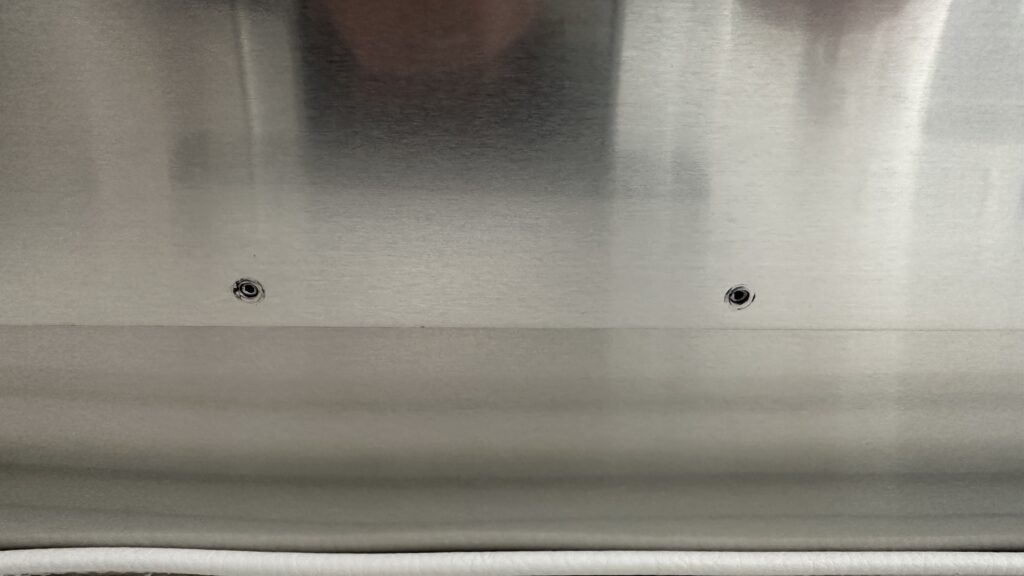
Two in the ceiling, two along the galley seam, and one by the stove.
Replacing the rivets is easy:
- Simply and slowly drill out the holes with the ⅛” bit until the broken rivet falls back into the wall or onto the floor.
- Clean the area with a rag.
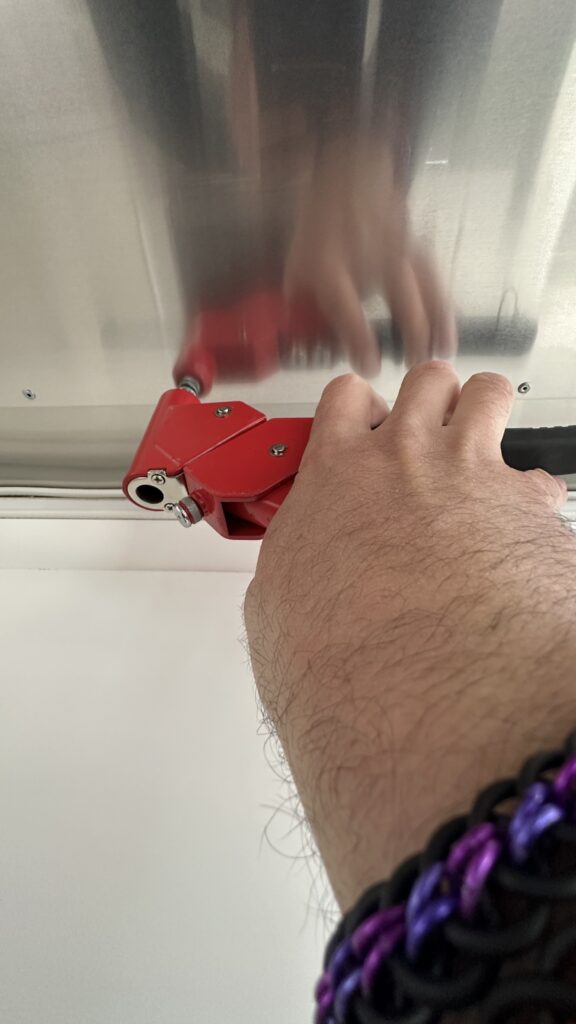
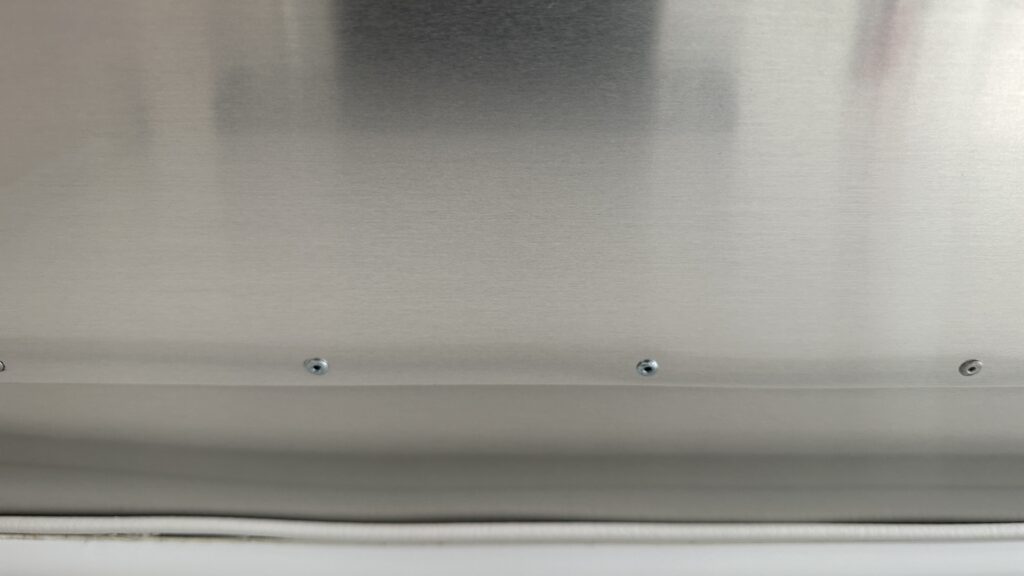
- Install the new rivets with the pop rivet gun.
- Clean the area again, vacuum up any metal shavings from the drilling.
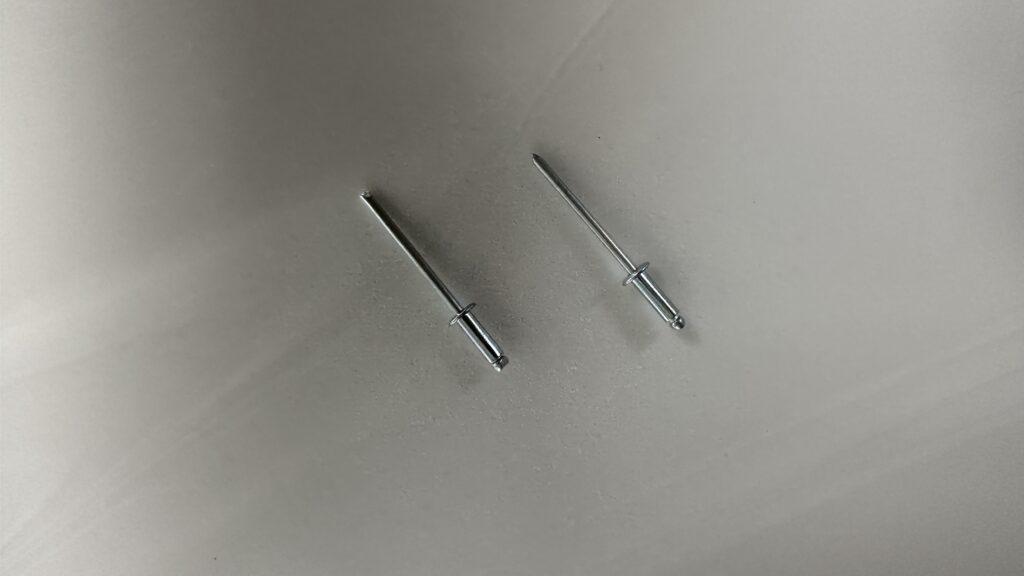
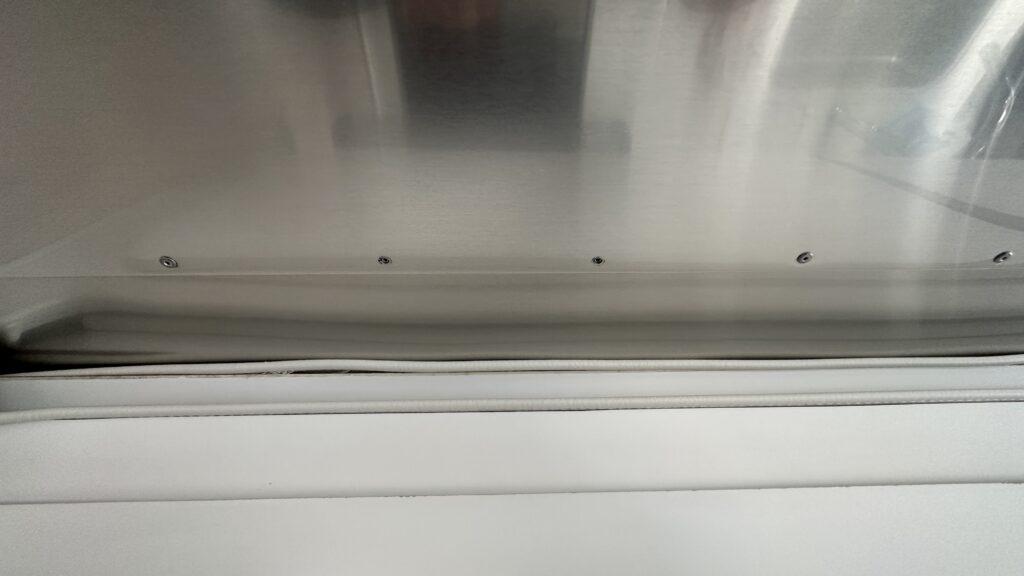
At the end of the day we’ve done this so many times that it’s second nature. This is the first time I’ve written it up.
